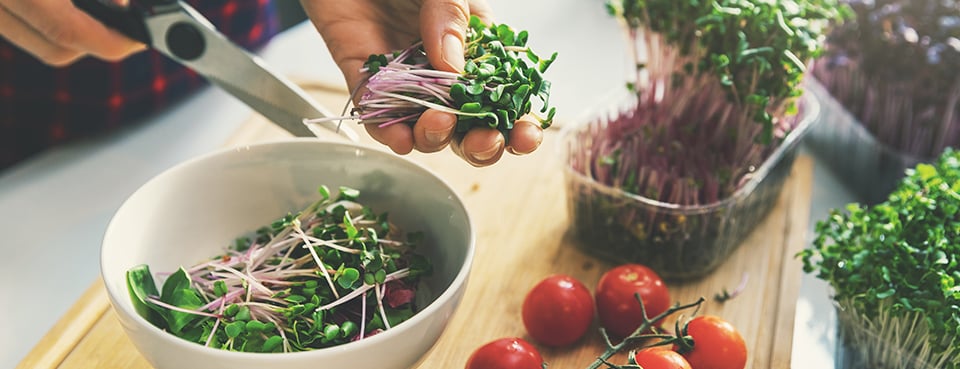
Plants are a great option to have in any home. Not only do they add a pop of greenery, which is proven to help us feel more relaxed, having plants indoor also helps to eliminate any harmful toxins in the air. According to a study by NASA, houseplants can remove up to 87% of air toxins in 24 hours, ensuring that the air we breathe remains constantly clean and refreshing!
However, if you’re looking for a niftier houseplant option for your home that is suitable for HDB-living, growing your own microgreens also serves as a great alternative! In addition to its aesthetic exterior, microgreens are fuss-free and very easy to grow, taking an average of 14 days to harvest. Best of all, these tender greens can be added into any of your meals for that extra veggie boost – a definite advantage over regular houseplants! While miniscule in size, microgreens are packed with a whole range of nutrients and antioxidants, and can play a role in protecting us against chronic diseases.
If you’re a first-time microgreen plant parent and are wondering how you can get started – fret not! In today’s blogpost, we will be sharing four microgreens that are perfect for anyone:
1. Lentils
While it is one of the lesser known and underrated microgreens, lentils are not any less beneficial for our health. In addition to nutrients such as vitamin B, C and E, lentil microgreens are also jam packed with protein, serving as a great meat replacement source. What’s more, its high fibre content helps in boosting metabolism, weight management and may even reduce the risk of developing cancer.
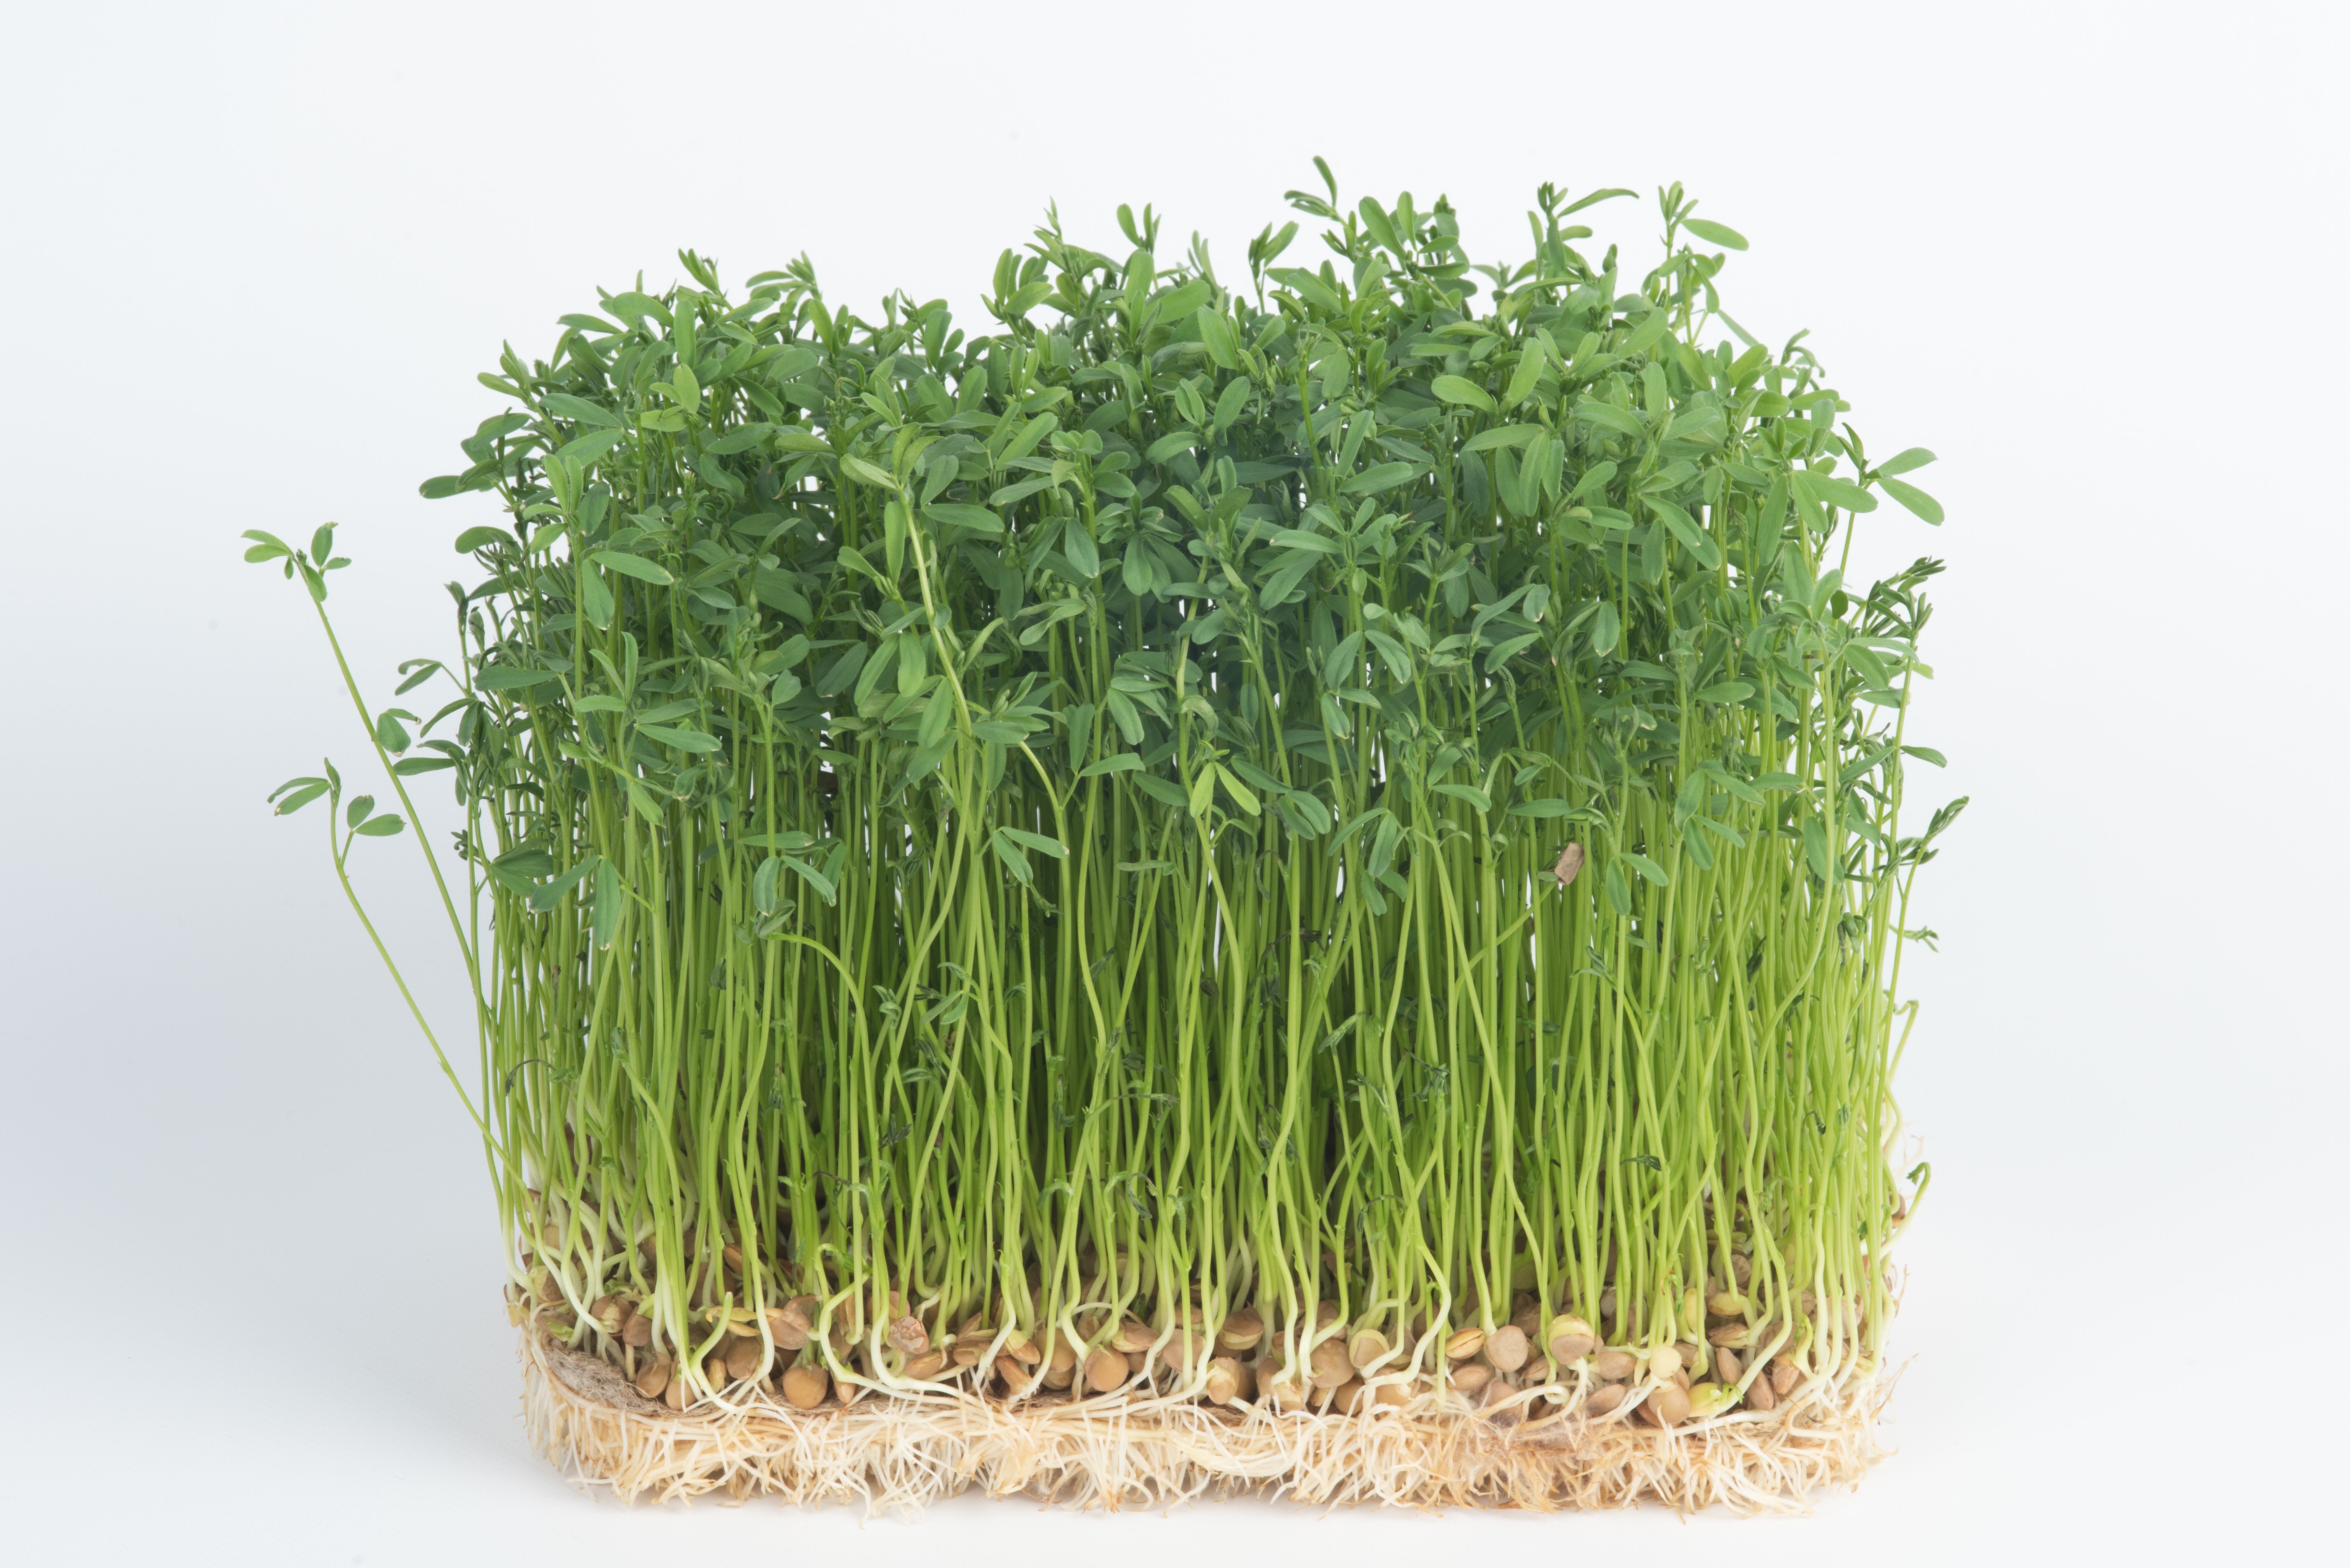
With its crunchy and refreshing flavour, lentil microgreens are a perfect addition into any of your favourite meals from salads to stir-fry noodles or even blending them up and mixing it into your pesto sauce! If you’re feeling more adventurous, try including these little greens into your smoothies or curries for that kick of nutty flavour and boost of vitamins.
Gardening Tip: A great tip when growing lentil microgreens is to soak your seeds overnight for at least 8 to 12 hours to jumpstart the sprouting process. Once you notice sprouts shooting out of your lentil seeds, they are then ready to be transplanted into your growing medium such as soil. Thereafter, do ensure that your growing medium remains moist but not overly soaked, for the best condition for your microgreens to flourish.
While growing lentil microgreens is a little different from the others and would require an extra soaking step, the entire process remains pretty straightforward and is easy even if you’re a novice gardener, so not to worry!
2. Kale
Kale microgreens are known as one of the most nutrient-dense superfoods with multiple health benefits including vitamins A, C and B6, as well as a myriad of antioxidants. A true example of a food source that punches above its weight, kale microgreens contain 5.2 times and 5.3 times more potassium and zinc respectively as compared to its adult counterpart! With such high levels of minerals, these microgreens are a great way to help regulate our blood pressure, support the growth of healthy muscles and provide a boost to our immune system.
While it holds a subtler bitter flavour as compared to mature kale, kale microgreens are still considered as one of the stronger tasting microgreens. If you’re not a fan of its raw and grainy texture, we’d suggest adding them into a banana smoothie, which will cover the otherwise raw taste of the kale. Similarly, if you’re looking to include this superfood into your salads, adding a drizzle of balsamic vinegar will do the trick in masking its bitterness!
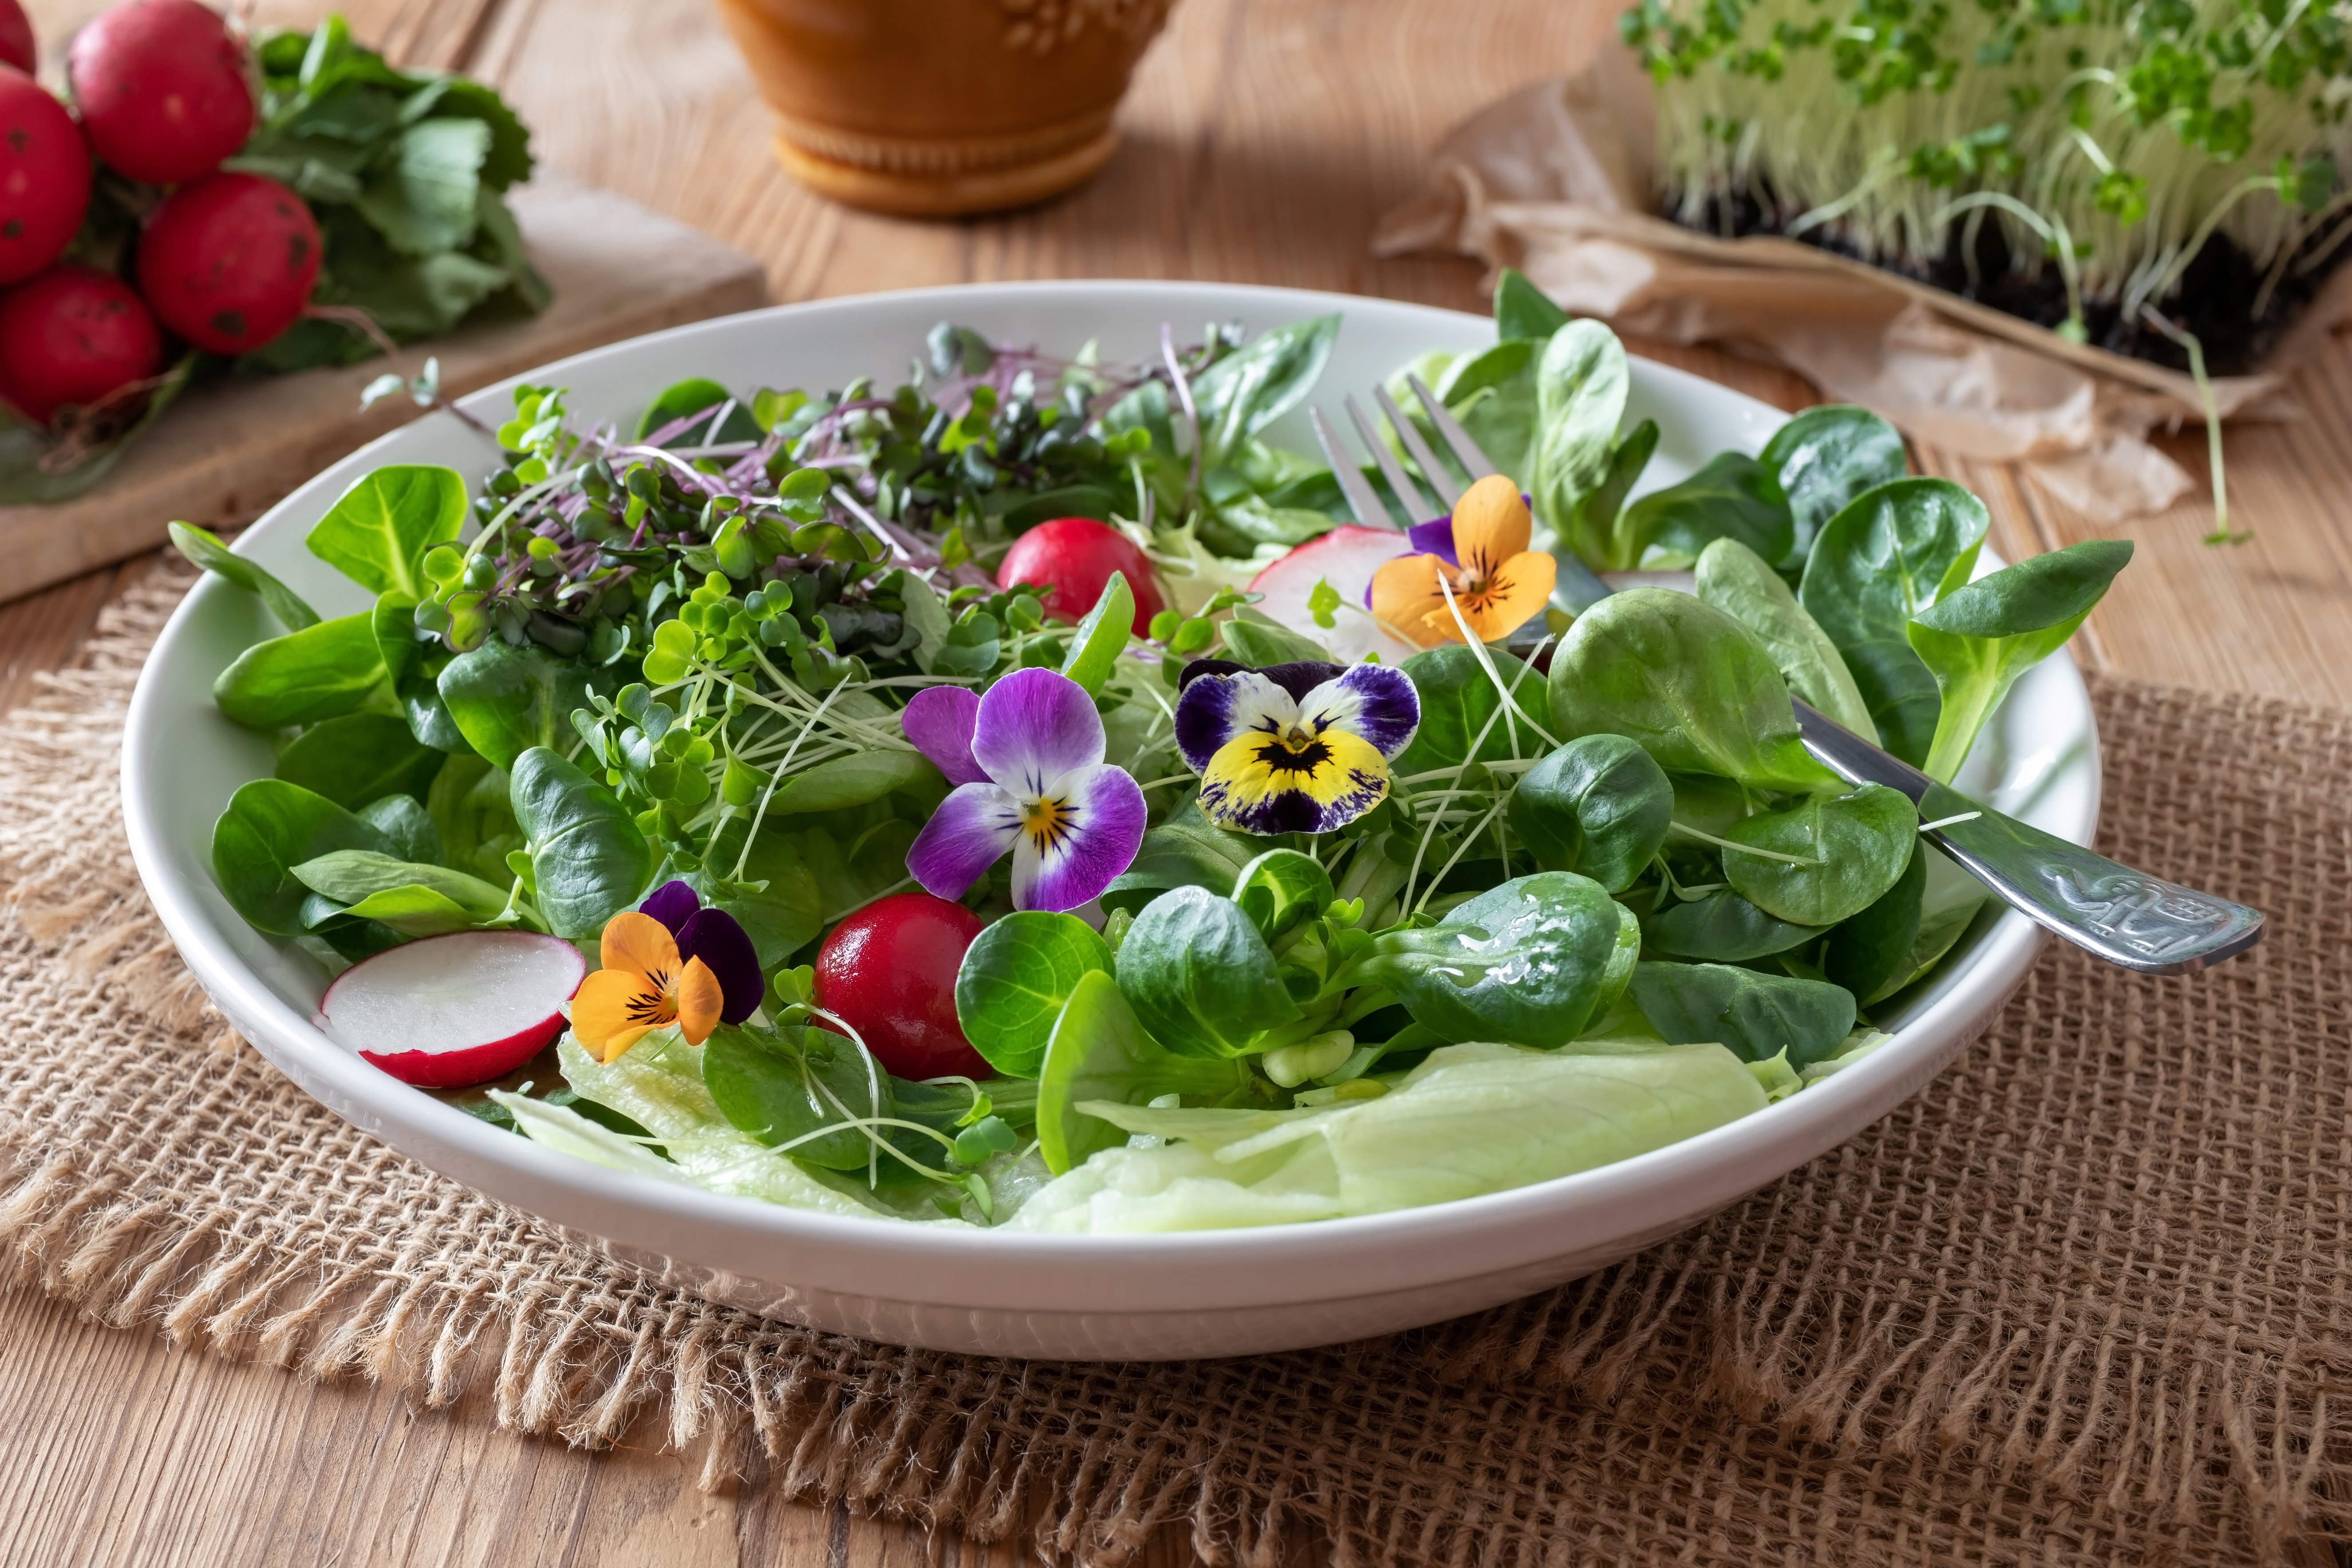
Gardening Tip: Kale microgreens are one of the easiest to grow – taking just 10 days before they’re ready for harvest! But, if you’re looking to further improve the germination process, a great tip would be to mist your seeds prior to spreading them on your soil.
Once they are ready for harvest, do remember to not water them 12 hours prior to harvest as well, as it would be very hard to get the foliage to dry otherwise. Packing your harvested kale microgreens wet is not encouraged as it would decrease its shelf life, which may lead to food wastage.
3. Broccoli
While a mature broccoli is sturdy and rather hard when its uncooked, a microgreen broccoli is the complete opposite! With its tiny leafy green tops, these delicate young seedlings of the broccoli plant are incredibly nutritious and contain double the amount of calcium per gram compared to regular broccoli. Broccoli microgreens are also high in sulforaphane, which is one of the critical micronutrients that helps fight cancer, reduce inflammation in our respiratory pathways and even heal any damage to our eyes’ retinal cells – ensuring that our eyesight remains sharp and bright!
With a tangy and mild peppery aroma, broccoli microgreens can be easily added to any of your favourite dishes like sandwiches or soups. To maximise its nutritional value, try consuming these microgreens raw, which studies have shown to provide three times more nutrients.
Or, if you’d prefer not too raw a taste, simply dunk them in your hot soup, which would still yield you at least 80% of its nutrient value. These miniature crunchy add-ons are also great for sneaking into your child’s meals for that extra nutrition boost and protect them against any viruses or free radicals.
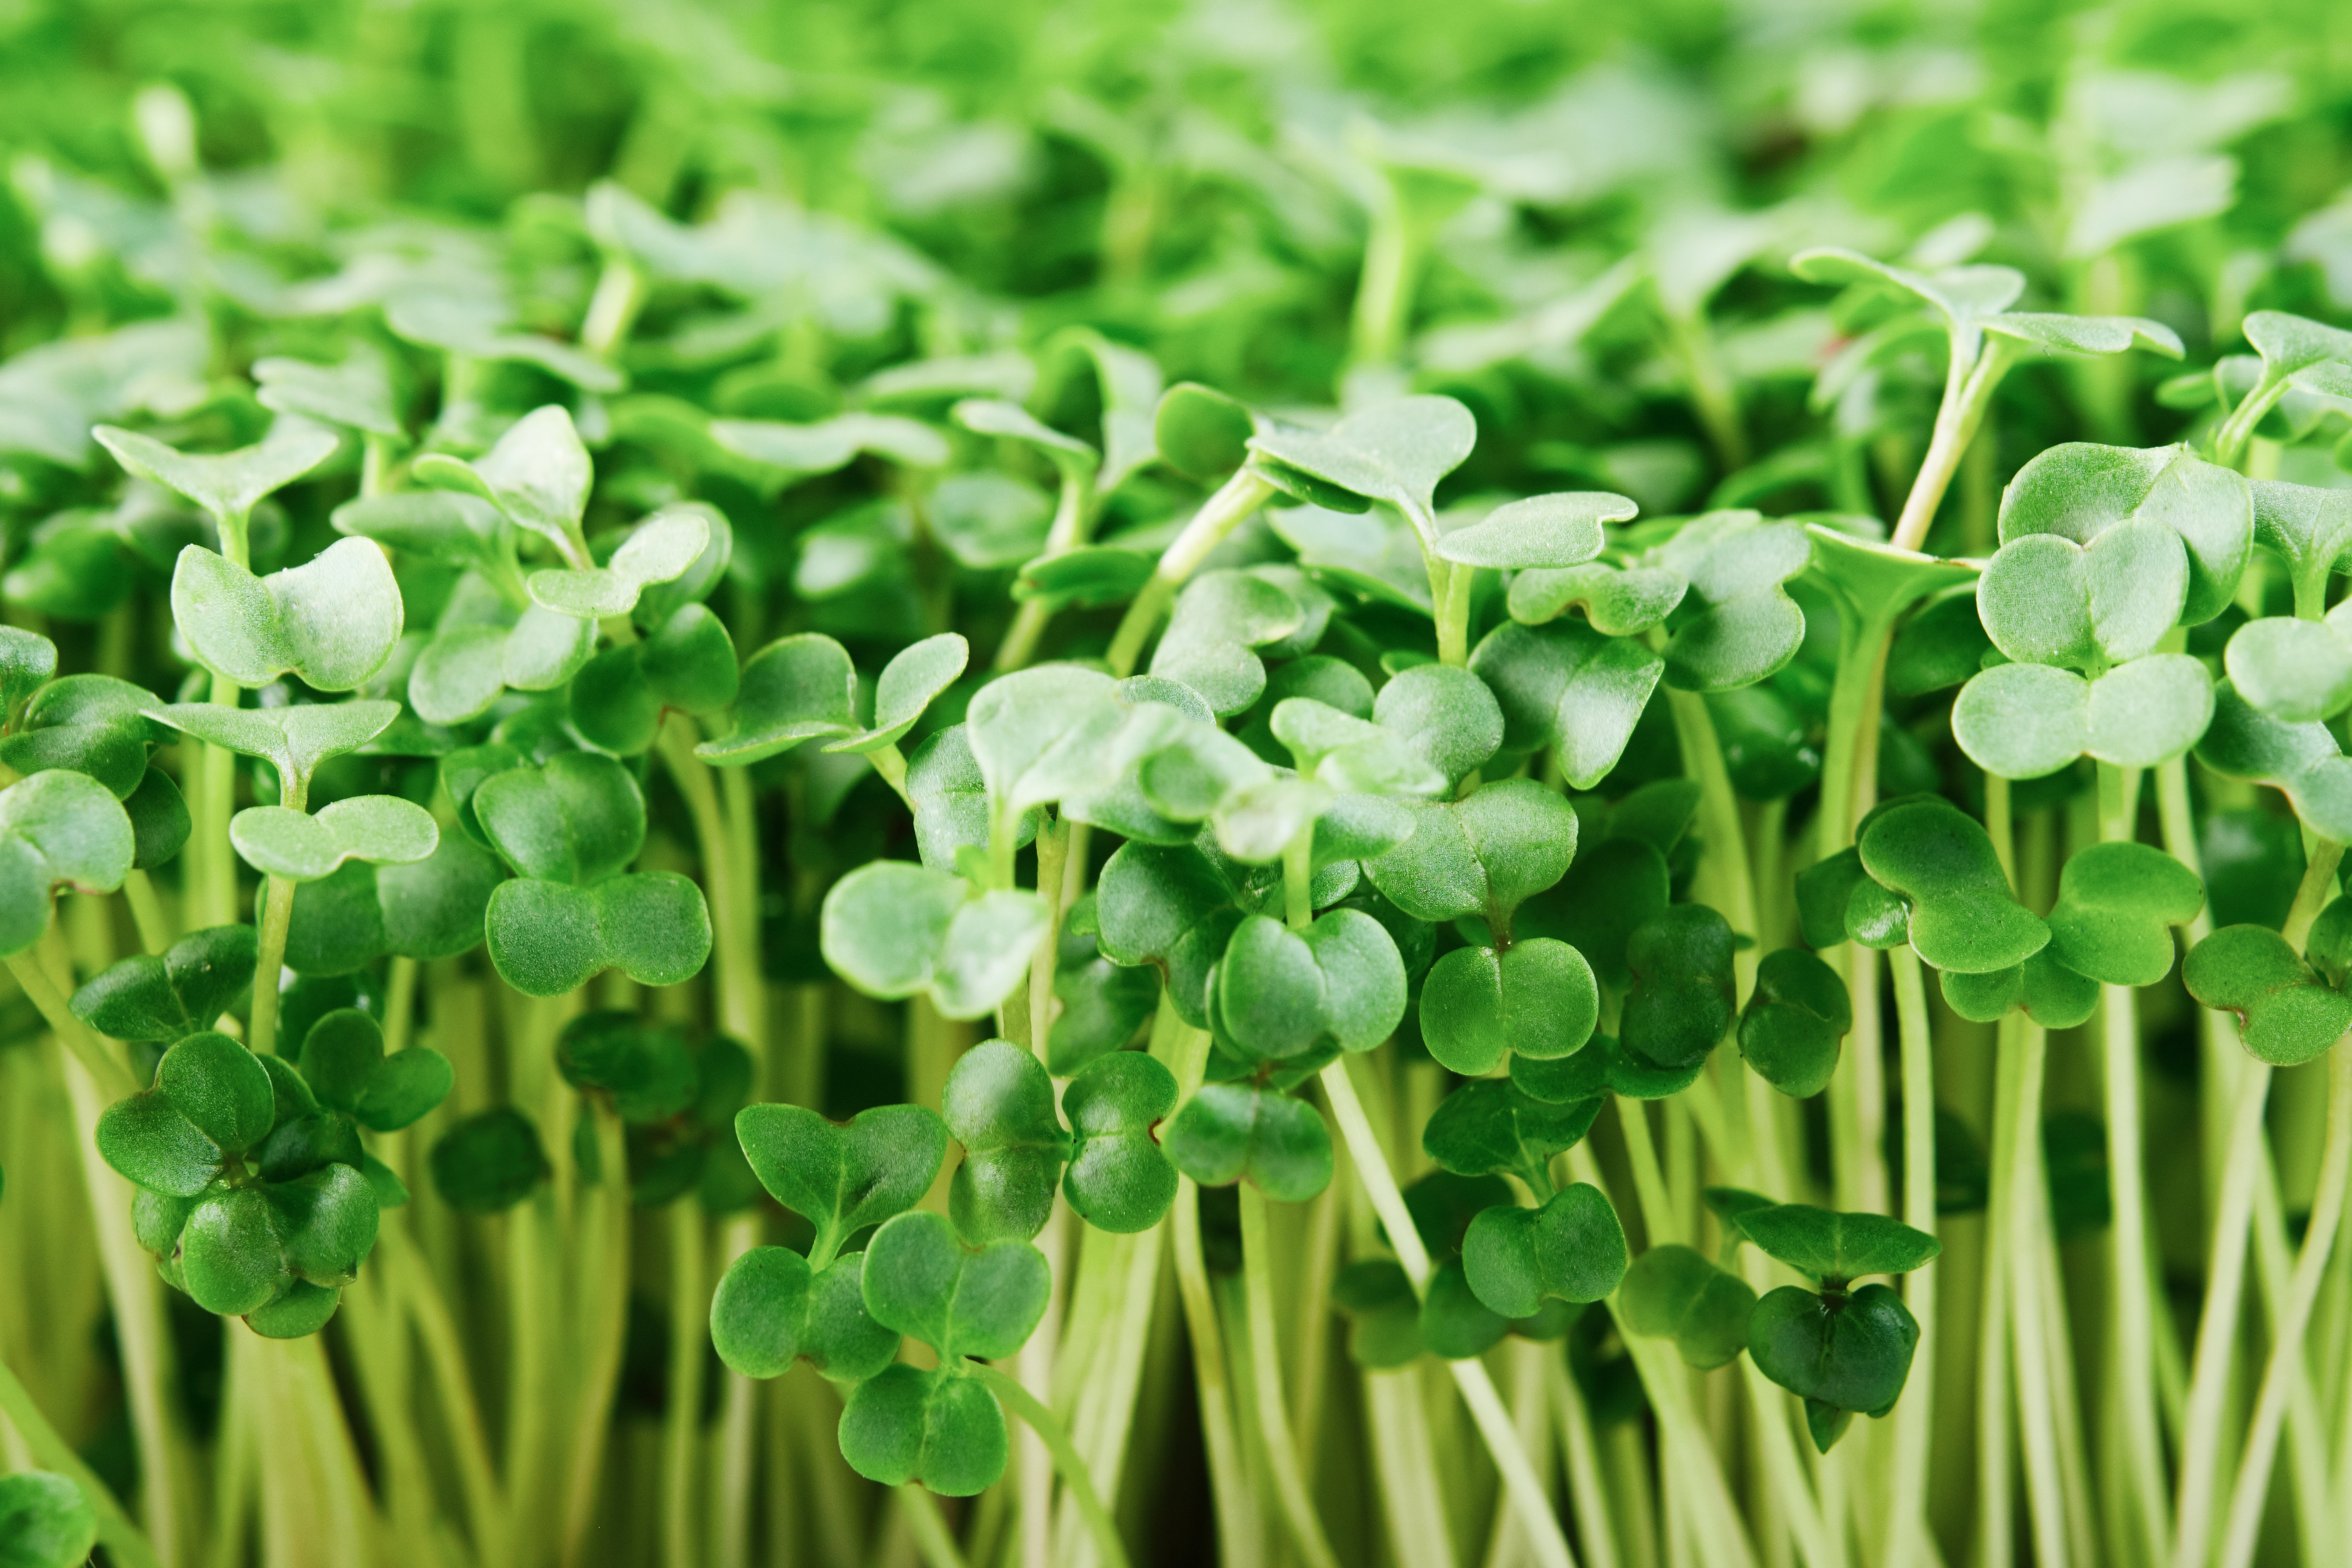
Gardening Tip: Broccoli microgreens are one of the more popular options given that they’re the simplest to grow – taking just 6 days before they’re ready for harvest! These microgreens require tons of light so we’d encourage you to leave your planting tray by the windowsill or invest in some grow lights. Keep your microgreens moist but not overly watered, and you will be ready to harvest them in no time!
4. Cauliflower
With its glossy dark green leaves and violet stem undertones, cauliflower microgreens are one of the most aesthetically pleasing bunch of the lot out there. Part of the Brassicaceae family, which also counts bok choy, brussels sprouts and cabbage within its family tree, broccoli microgreens pack a punch on the nutritional front with a high concentration of vitamins C, B6, iron, magnesium and fibre. This helps in reducing our risk of liver cancer and diabetes, heart disease and even improving our moods!
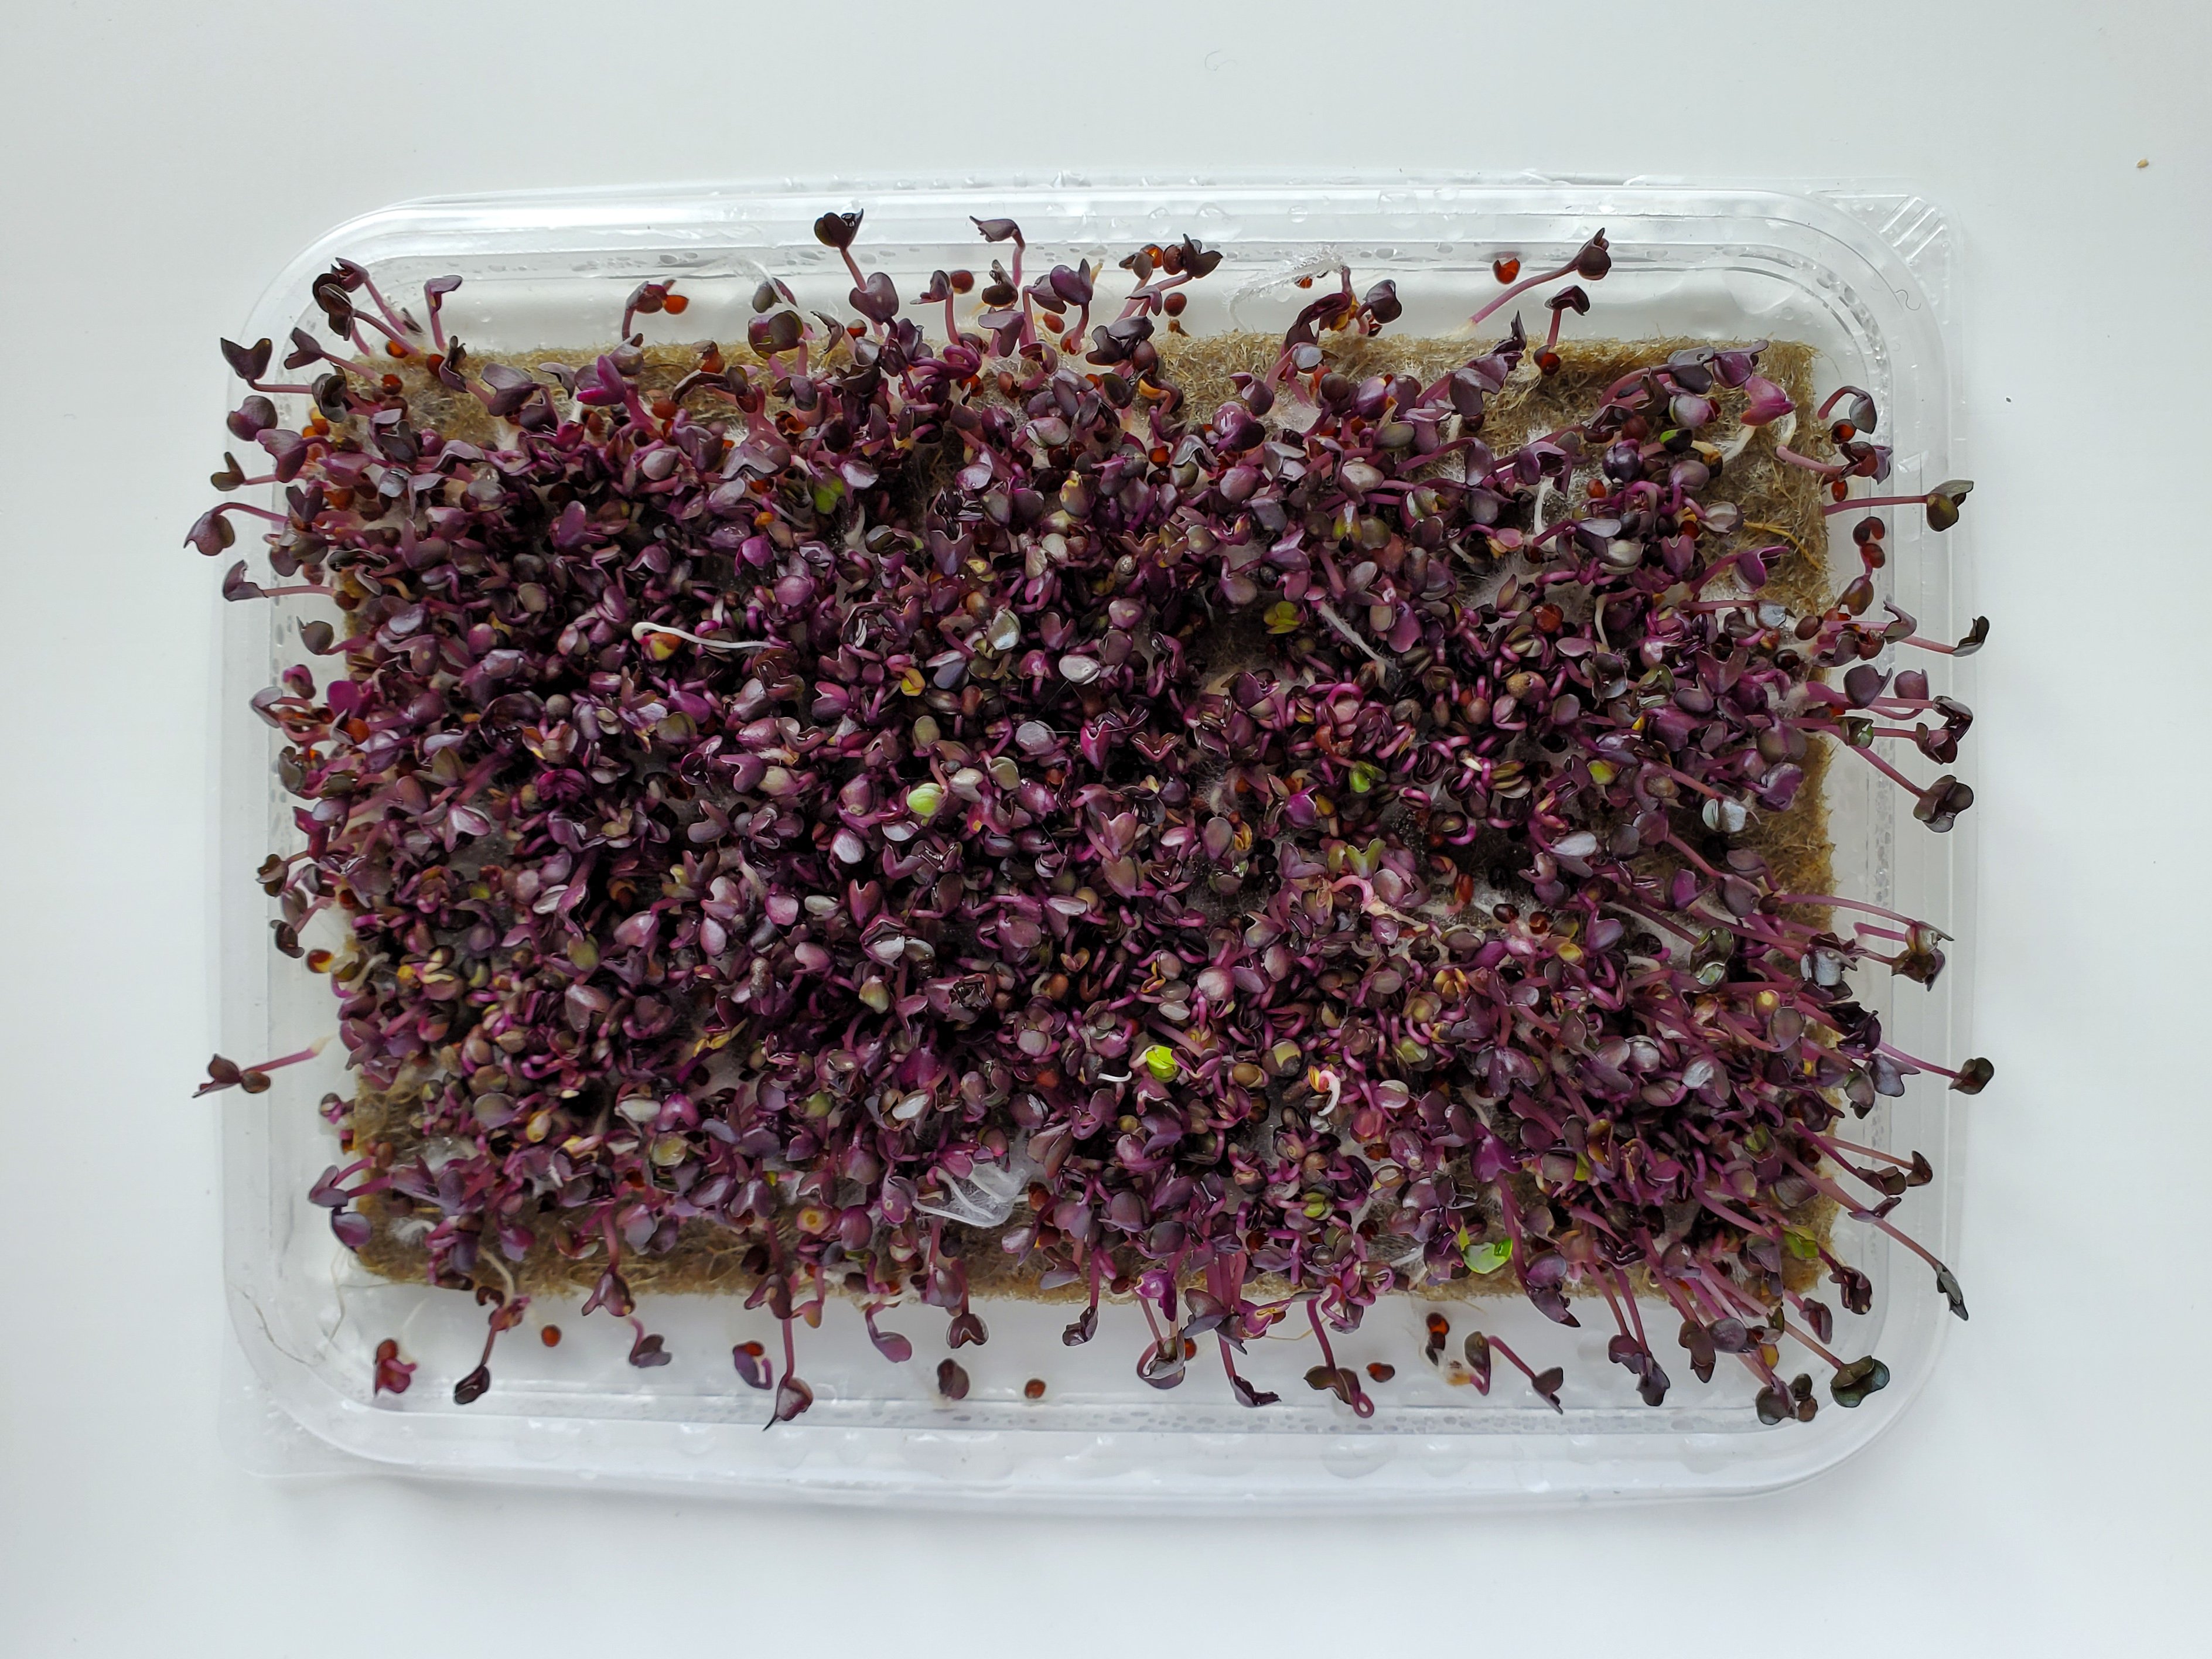
Similar to broccoli microgreens, these cauliflower babies also have a mild peppery flavour accompanied with a crisp texture. Simply throw them into any of your soups or as a topping for your sandwiches and burgers for that extra nutritional crunch. If you’re up for it, you can even consume it as a snack, dipping them in hummus!
Gardening Tip: There are two stages to growing cauliflower microgreens. First, for germination, place them in the dark for around five days. Thereafter, once the seeds have germinated, expose your microgreens to indirect light for another four days – this will help in flourishing the microgreens as they turn from yellow to beautiful green leaves. Ensure that you only water them twice a day – every morning and evening – and you will be able to harvest them within less than two weeks!
Ready to start growing your own little garden at home? Check out the various local brands such as EverythingGreen.sg and Urban Harvest that offer a myriad of options. If you’d like to pick up some quick tips on how best to take care of your microgreen babies, do head over to our ChangeMaker Cultivate Central where they offer some of the best tips to ensure that your microgreens will be ready for harvest in no time!
And, if you would like to extend your green thumb beyond your homes, you can also contribute by making a donation to Geneco’s X NParks’ Garden City Fund at Giving.sg.

Join us as we partake in NParks’ #OneMillionTrees movement to #PowerTheChange as we look towards planting an additional 150 trees in marking our 4th Anniversary and milestone of powering over 150,000 homes this year!
We will be matching dollar-for-dollar with 100% of the money raised to go towards this movement.
Together, let’s continue to #PowerTheChange and create a greener world for all who live in it.
- By Geneco
- 06 April 2022
